Video #
Step-by-Step Tutorial #
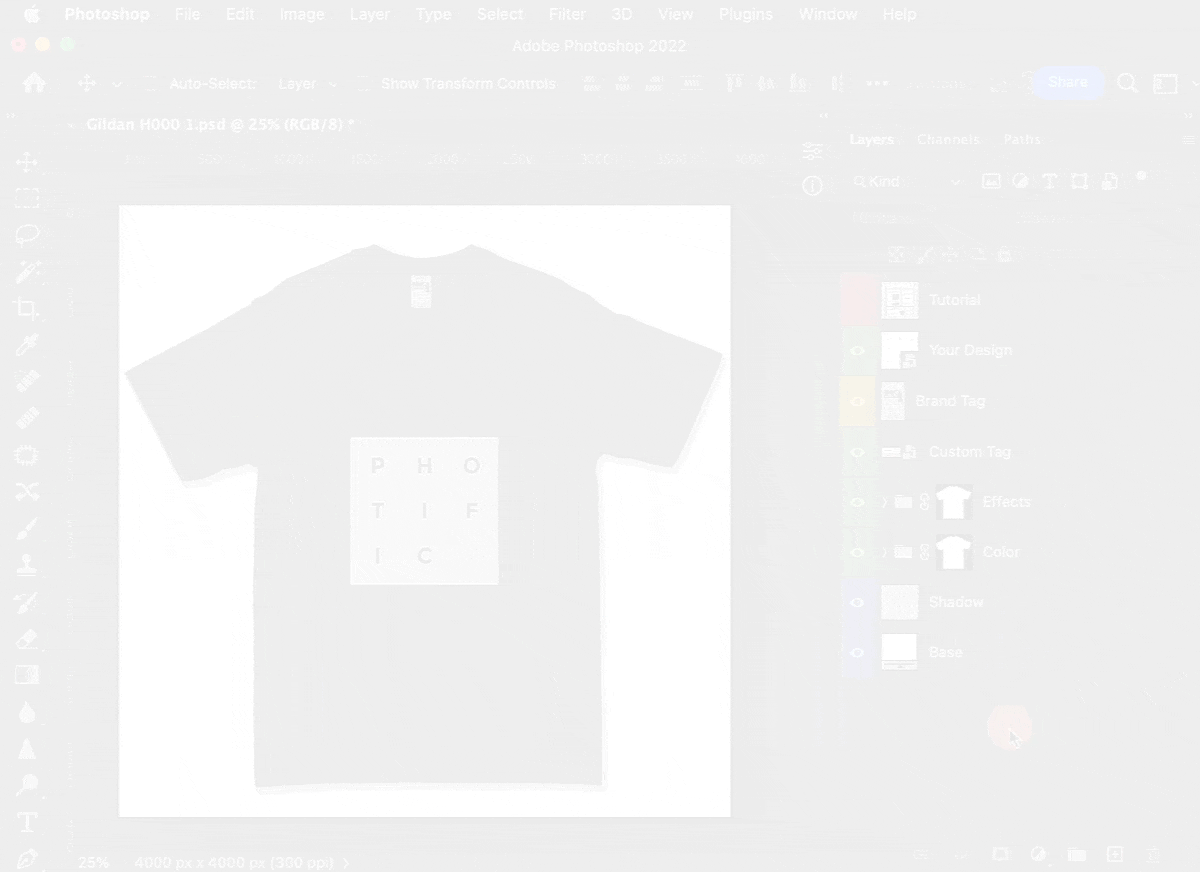
1. Right-click on the ‘Custom Tag' layer > Select ‘Edit Contents'
2. This will open a new ‘Tag' window.
3. Show the ‘Placement Guide'
4. Click ‘File' > ‘Place Embedded' and select your custom tag design. Optionally you can also drag-and-drop your design directly into the ‘Tag' window.
5. Scale and position your custom neck tag design.
6. Hide the ‘Placement Guide'.
7. Click ‘File' > ‘Save' to commit your changes.
8. Close the ‘Tag' window.
9. Hide the ‘Brand Tag' layer.